Thursday, 21 February 2013

1/4 scale cottage shingles

Today was a very productive day for my little miniature house. I got the shingles onto the roof.

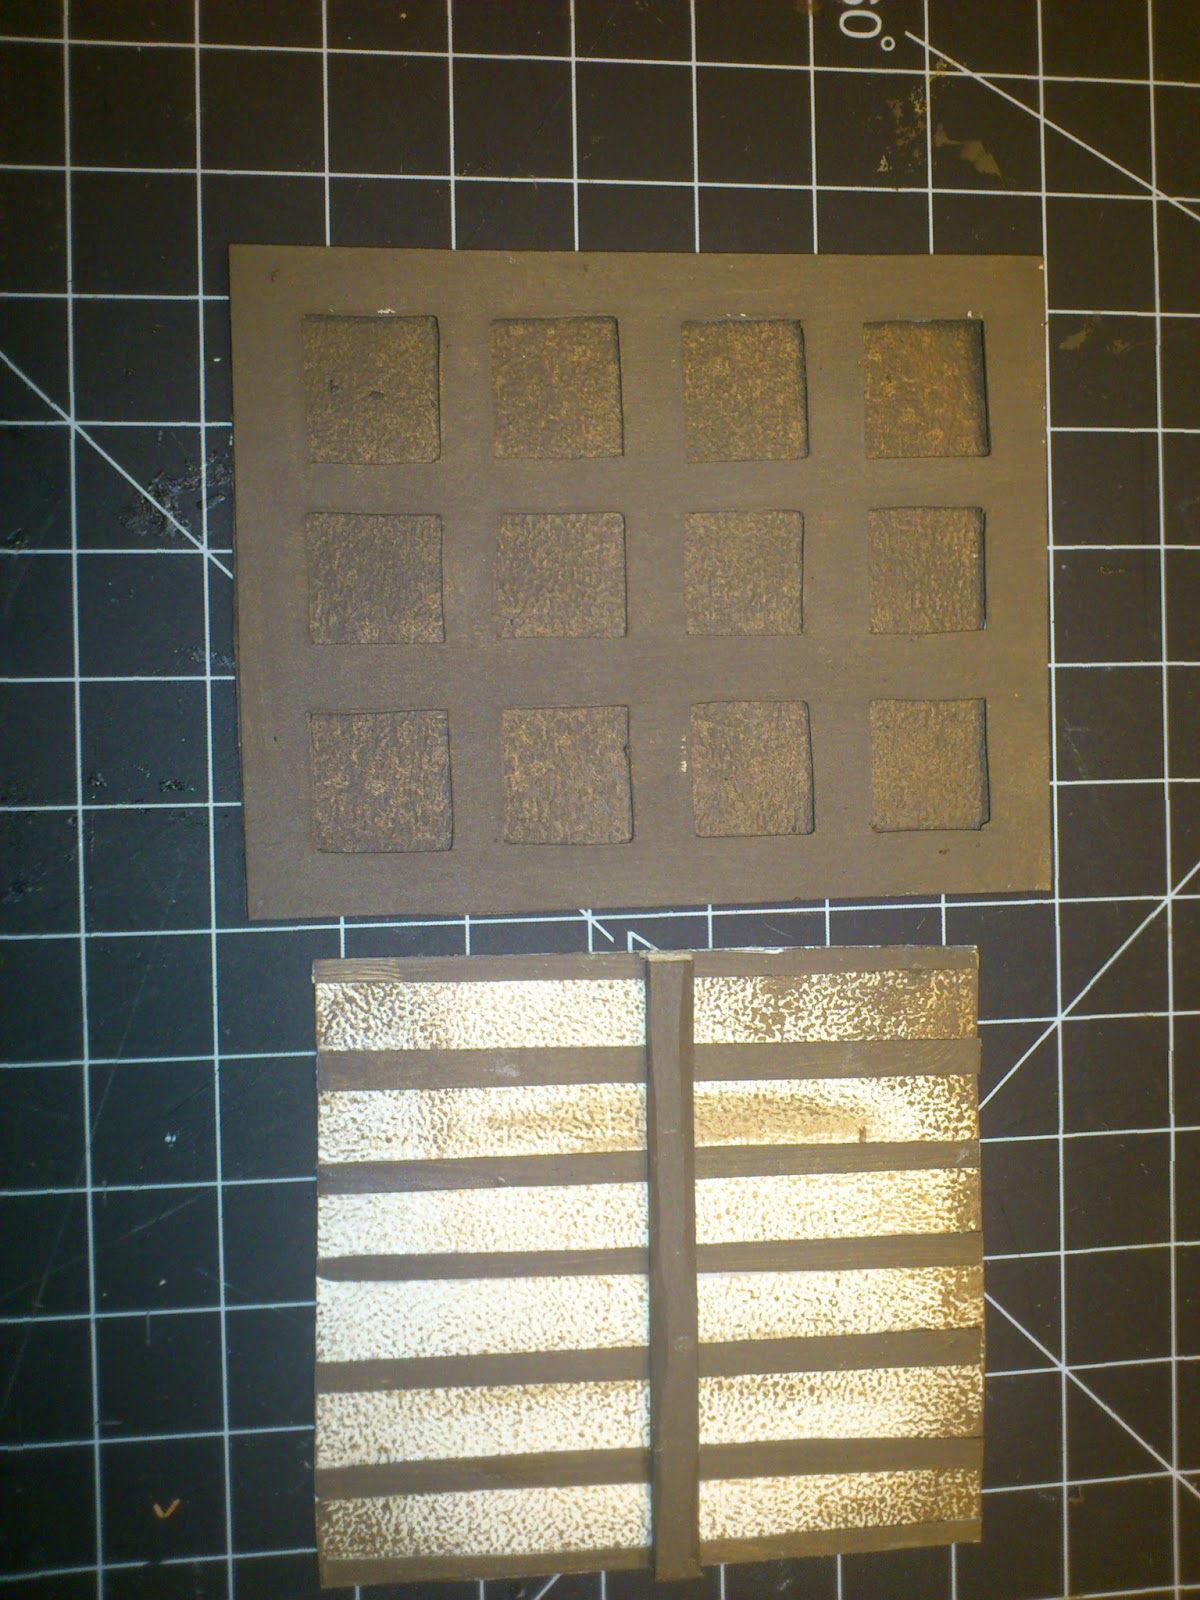
First I added the wall paper to my templates for the ceilings in the attic. I applied glue to the wall paper and attached it to the template. Then I cut it out and dry brushed the corners to add a bit of age. I also cut beams to go in the one room and painted them.


Next, I cut out shingles. I used a cherry veneer wood. Using an X-Acto knife I scored the wood. Then I snaped them in to shingle bits. This was a little time consuming. Eventually what I did is I lined up two or three pieces and then scored them all together.


Once you have your pile of shingles it's time to attach them to the roof. I started by painting the roof a brown color. This way if there are any gaps between the shingles it is less obvious. Then I measured and drew lines 1 cm apart for an idea where to place the shingles. This is quite useful in keeping the rows straighter.


Working from the bottom up, I applied the shingles. I used a "brick" pattern overlapping the rows. I also placed the shingles at different legnths to make it more rustic looking. 


I started at ends and worked my way into the angled sections of the roof. Once I got the the angle, I had to trim the corners to make them fit. I attached the chimney first and shingled around it.


To finish the edges at the top or the roof I cut some shingles in half and overlapped them.  This creates a nice clean roof line.


To add the final touches to the roof I used a wash of brown and black paint. This gave it a very nice rustic, worn look. I tried to put more wash in the corners and at the top of the roof. At the March meeting we will receive our landscaping kit. We will build the base of the house first.


Wednesday, 6 February 2013

and a roof...

Last night I went to the miniature meeting and we asembled the roof sections of the 1/4 scale cottage. Those were not the easiest of things to piece together. I kept the roof sections held together with paper seaming (similar to what was used for the exterior walls). Next step is to make all the shingles that are to be placed on the roof.


Wednesday, 9 January 2013

Painted Bricks!


My husband's in a band and they practice in our house. Needless to say it gets kinda loud on practice nights. Can't watch any TV or the sort, so I figured that I would paint the bricks on my 1/4 scale cottage. The paper clay worked out easier then I had thought. Unfortunately, on the first wall that I papered, the clay was a bit too thick. As a result my wall did warp a tiny bit, other then that it turned out good. I painted the bricks with acrylic paints. I mixed different colors and applied them in a random fashion. Below are my results.


Sunday, 6 January 2013

1/4 inch scale house exterior and fireplace

I made the walls for the attic in the same nature as I did for the walls in the first floor. I cut out a cardboard template, glued my wallpaper onto it and dry brushed a little color in the corners and bottoms of the walls. Then, used YES glue to apply it to the walls.

The chimney stacks on the exterior needed to be thicker at the bottom. So I cut out triangles out of foam core and glued them to each side of the chimney so I won't have to use as much paper clay later on.
Then it came time for the paper clay... To afix the paper clay to the exterior walls you need to put a thin layer of white tacky glue. I prefer Aleen's Tacky glue. I found that it was easier to put the glue onto the exterior of the wall before rolling out the paper clay. The paper clay I was using seemed to dry out pretty quickly (within a matter of minutes it was getting a bit crumbly and dry on the surface). I would then roll out the paper clay to be quite thin (1/8 to 1/4 inch in thickness) and make it larger then the area I was covering. Make sure to not have the paper clay to thick. Your walls can warp if the clay is too thick because it does contain moisture and you are only applying to one side of the wall. The first wall that I covered on my house was a bit thick and the top portion of the wall bowed slightly. Using an X-Acto knife I would carefully cut off the excess clay and cut out the windows and doors. I repeated the same for all the walls. I used a needle tool to make lines for the bricks in the chimneys and to create the effect of small cracks in the walls. I rolled out a thin piece and cut out bricks to go around the door. I glued them onto the exterior using Aleen's Tacky glue. I now have to wait till the exterior is dry before I paint (dry brush) the exterior.
My Mom gave me a 1/4 inch scale fireplace kit the she designed. (She's so creative!) I figured why not make it, my miniature making was going pretty good that day. I turned out quite cute. I even used a twig from the cedar tree outside my house to make mini logs!


Thursday, 3 January 2013

1/4 scale miniature cottage

I am working on a 1/4 scale cottage kit that was designed by my Mom. The above picture is of my Mom's completed project. So far I got quite a bit done on mine.


I started by assembling the outer shell.The outer shell is comprised of thin wood walls. The walls are held together using tacky glue and paper seems.


These were placed on a foam core base. The base has a printable "hardwood" pattern.


To create the interior walls, I glued the wallpaper/wall treatments to a cardboard that I fitted to the interior.  Using YES! glue I afixed the paper to the cardboard. YES glue is highly recomended for this as it does not curl or warp paper like other types of glue. I also find that it dries flat.


I using a dry brush method, I applied paint to the bottoms of the walls and corners to add a bit more dimension. Note the cardboard/wall paper is not yest gluesd to wood walls. 


I used a similar method for my ceilings. I fitted a piece of carboard. Then I painted the ceilings. Once the paint had dried I then glued the ceilings in place. Once again I used YES glue.


 The finished walls and ceilings in place.


This is where I got up to. I hope to start working on the exterior tomorrow. I will be creating a plaster exterior wall and brickwork around the chimney, doors and window frames.  This will be done using paper clay. I have never used paper clay before. Hopefully I won't be too messy!


Sunday, 10 June 2012

Mini wine jugs and disasters....


This weekend I decided to try my hand at sculpting some miniature wine jugs. I plan to eventually make molds of them and start slip casting them in ceramic. I went to the local ceramics shop and got myself some potters plaster. It took me a whole day just to make 2 molds! Then as I was trying to unmold my protoype for a third piece (a mini rice bowl) it got stuck! There was no way that thing was going to make it out. I tried chiseling around the edges, prying it out with tweezers...then pliers (which actually damaged my original). There was no way this thing was coming out, finally I simply took a hammer to my mold. Let me tell you that was no easy job either! The mold didn't want to break. The tiny bowl eventually came out after I had smashed the mold into a million pieces. The bowl was damaged but still salvageable. Then I decided I'll take a break from that and sew myself a maxi dress. Got my patterns, sewed it up....and it looks aweful. The fabric stretches weirdly once it was sewn and made strange puckers... ugh...jsut not the right weekend to make stuff I guess. Hopefully I have better luck next week. : )

Sunday, 3 June 2012

Cookie tins

It has been a very productive day for the minis... Started off by finally finishing a kit this morning. It's 1/4 scale dressing room and is set in a little picture frame that looks like a purse.


Then I decided to make some polymer clay cookies. That then started a chain reaction... once the cookies were completed I figured might as well make some cookie tins to store them in. It started with a couple, then a few more, and ended up with me making over a dozen cookie tins, keeping me up till 2:00am! I was on a roll and couldn't stop! lol. I will be filling the tins with the cookies tomorrow. I do need to get some sleep after all!